
A Success Story: Transforming a Garage Into a Professional Studio
Introduction to the Transformation
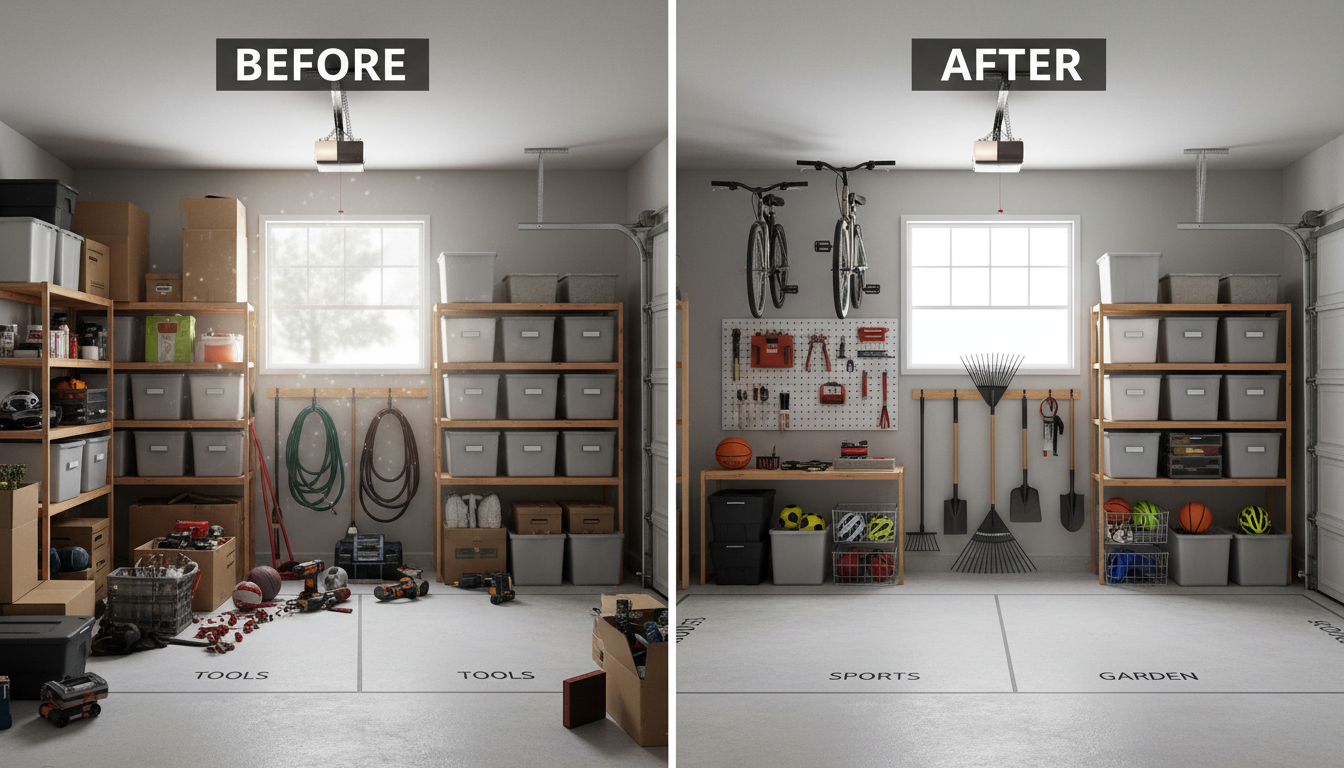
Turning a cluttered garage into a professional studio is a dream many creatives aspire to achieve. This journey from a storage space to a productive haven can serve as a blueprint for anyone looking to harness the potential of unused spaces. Whether you're a musician, photographer, or artist, transforming a garage can be a rewarding project.
Assessing the Space
The first step in this transformation involves assessing the available space. It's essential to measure the dimensions and consider the structural integrity of the garage. This will help in planning the layout and identifying areas that may need modification. Keep in mind any existing utilities, such as electrical outlets, which can be crucial for studio equipment.
Understanding the natural lighting conditions is also vital. While artificial lighting can be adjusted, utilizing natural light can create a more inviting atmosphere. Consider how the positioning of windows or doors affects the light and plan accordingly.
Designing the Layout
Once the space assessment is complete, it's time to design the layout. This involves deciding on the primary purpose of the studio and tailoring the design to meet those needs. For example, a photography studio may require backdrops and ample lighting, whereas a music studio will need soundproofing.

Consider using multifunctional furniture or storage solutions to maximize space. Shelving units can keep equipment organized, while foldable desks or tables provide flexibility. A well-thought-out layout enhances workflow and productivity.
Renovation and Setup
With a clear design in mind, the renovation phase begins. This might involve insulating walls, installing new flooring, or adding partitions. Pay attention to acoustics if sound quality is paramount; soundproofing materials can prevent external noise interference and improve audio clarity.
Next, focus on setting up essential utilities. Ensure that there are enough power outlets and that the wiring can handle the equipment's load. Consider installing a reliable internet connection if needed for your work.

Personalizing the Space
Personal touches can transform a functional studio into an inspiring creative space. Decorate with artwork, plants, or personal memorabilia that resonate with your style. These elements can spark creativity and make the studio feel like a second home.
Consider the color scheme carefully, as colors can influence mood and creativity. Soft, neutral tones may provide a calming environment, while vibrant colors can energize and inspire.
Final Touches and Maintenance
Once the setup is complete, it's time to add the final touches. This includes arranging equipment, setting up lighting, and ensuring everything is in working order. A well-organized studio not only looks professional but also enhances efficiency.

Regular maintenance is crucial to keeping the studio in top condition. Establish a routine for cleaning and organizing to prevent clutter from accumulating. This will help maintain a productive environment and prolong the lifespan of your equipment.
Conclusion
Transforming a garage into a professional studio is a highly rewarding endeavor. With careful planning, design, and personalization, you can create a space that not only meets your professional needs but also inspires your creative journey. Whether you're just starting or looking to upgrade, this transformation can be a cornerstone of your success story.