
DIY Audio Editing: Essential Techniques for Beginners
Getting Started with DIY Audio Editing
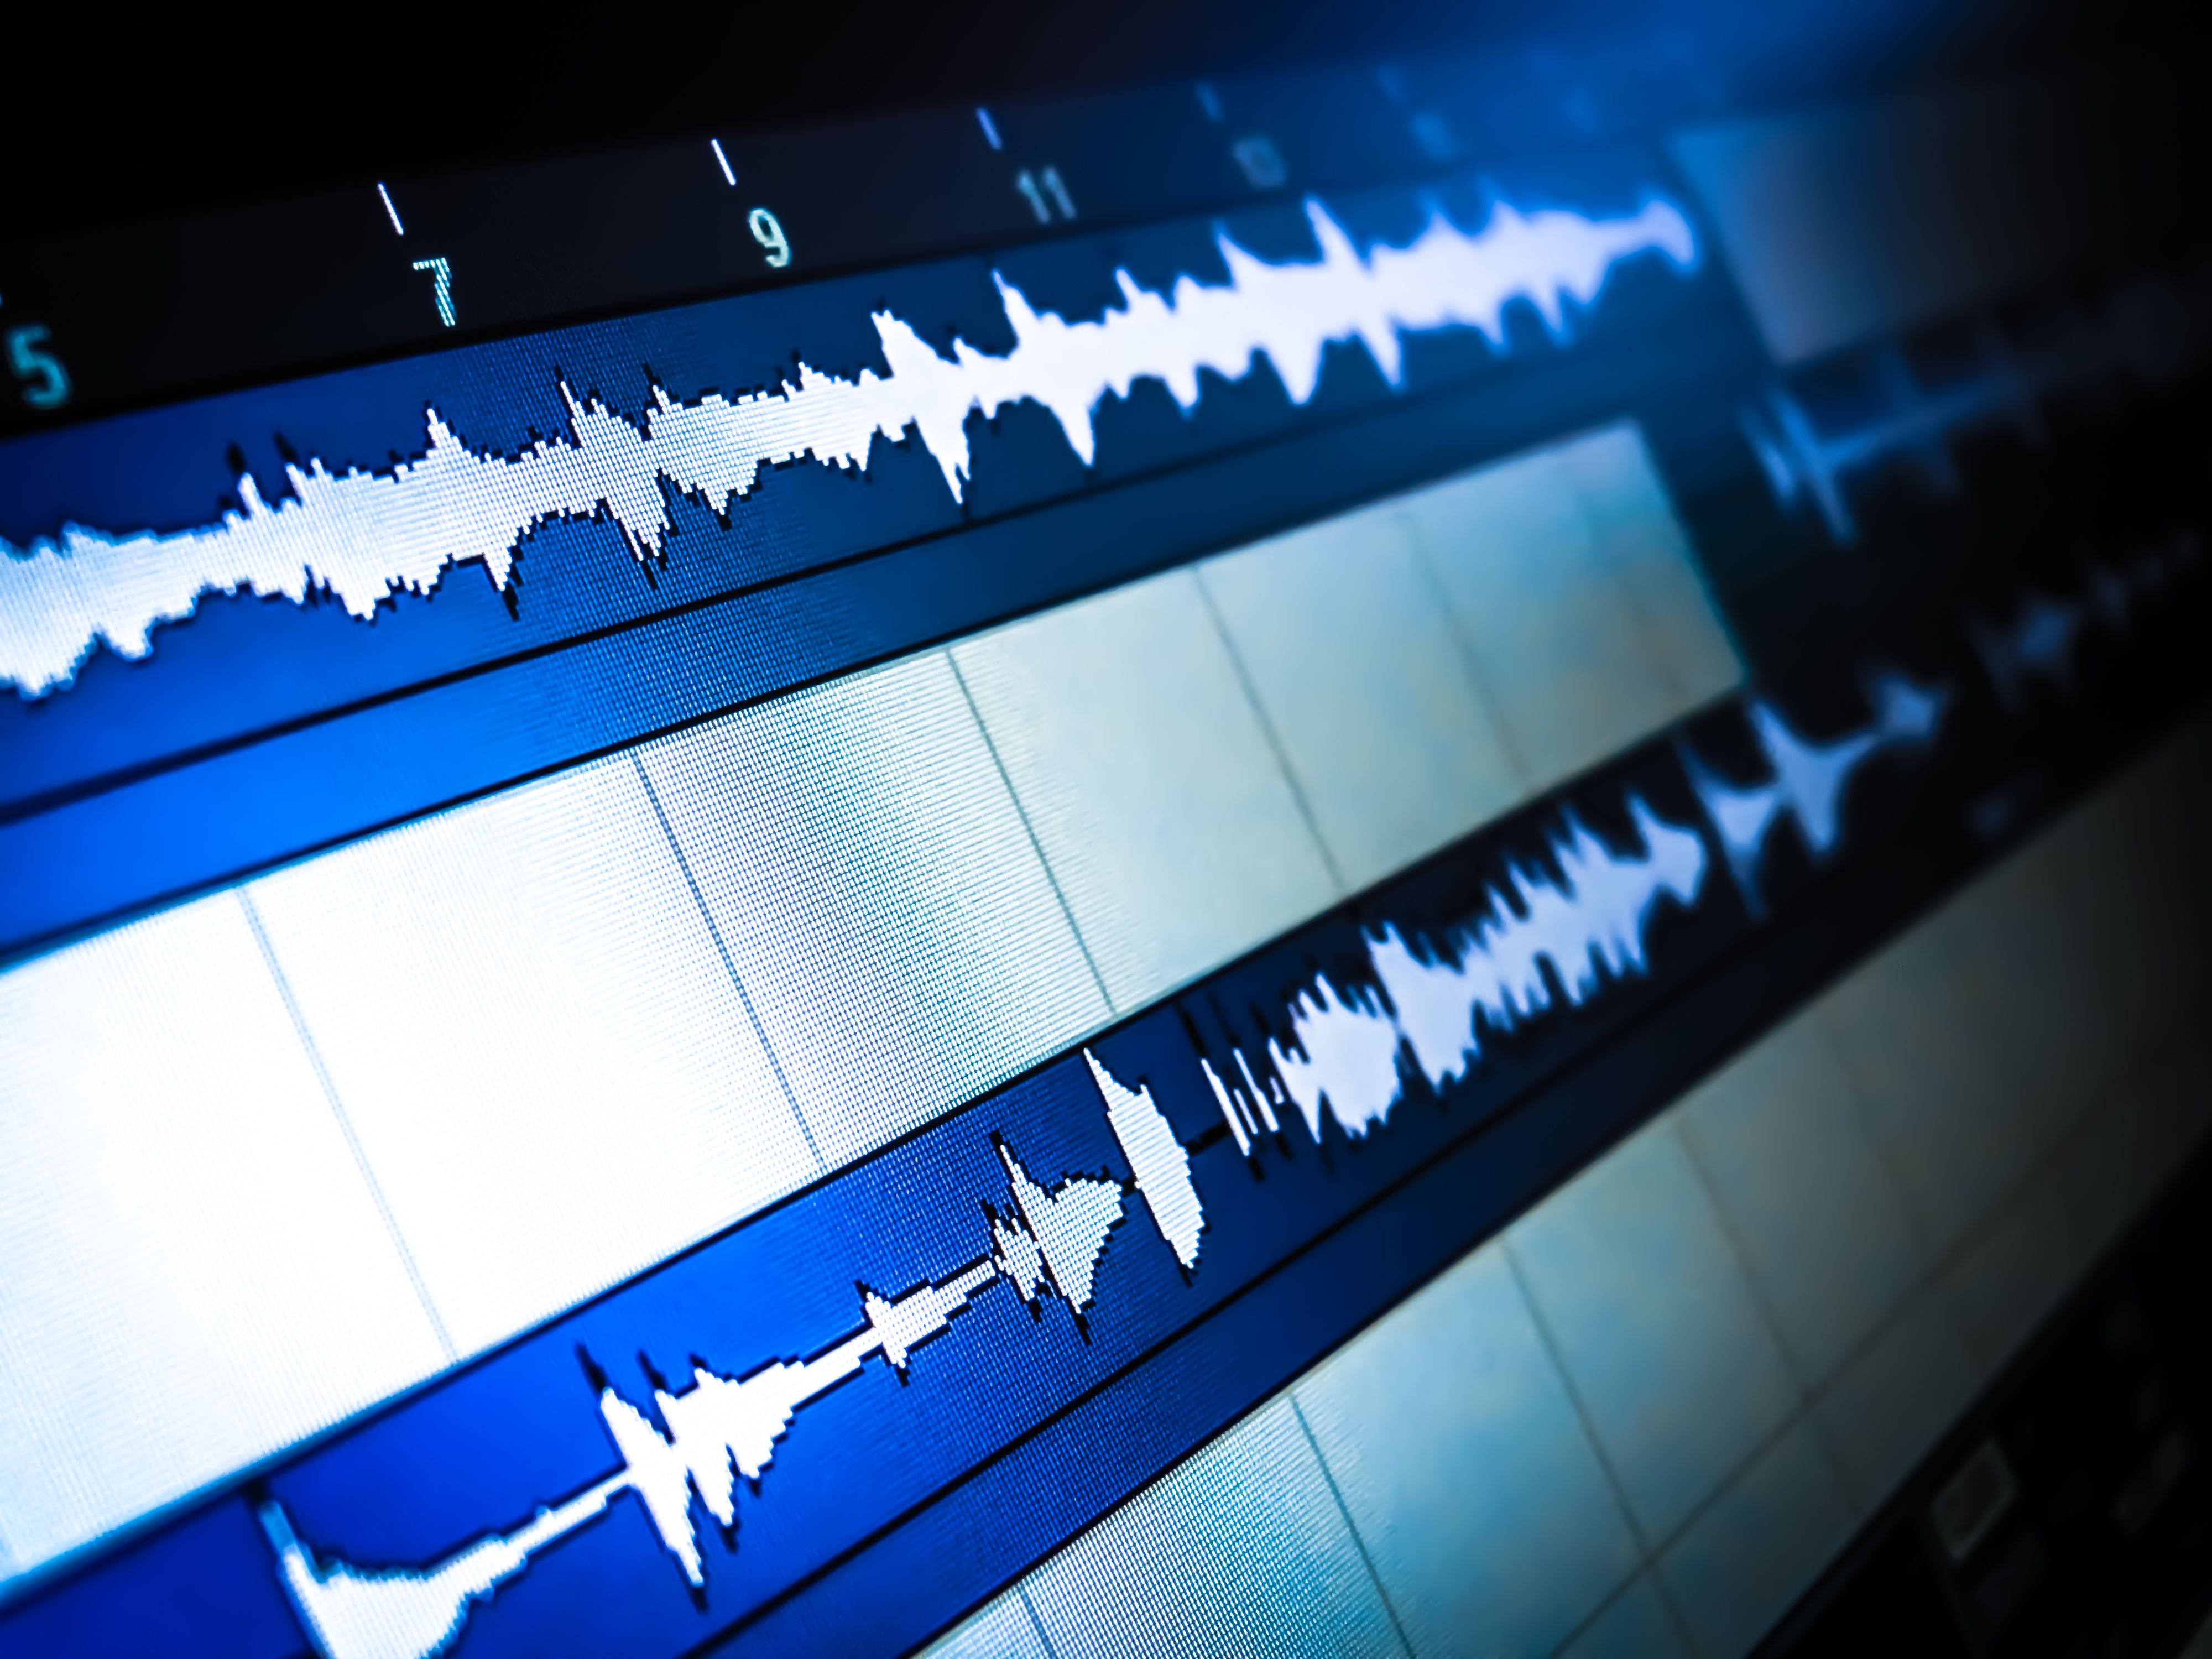
Embarking on the journey of DIY audio editing can be both exciting and overwhelming. With a plethora of tools and techniques available, it's essential to grasp some fundamental concepts to make the most of your efforts. Whether you're editing a podcast, music track, or a simple voice recording, understanding the basics will set you on the path to success.
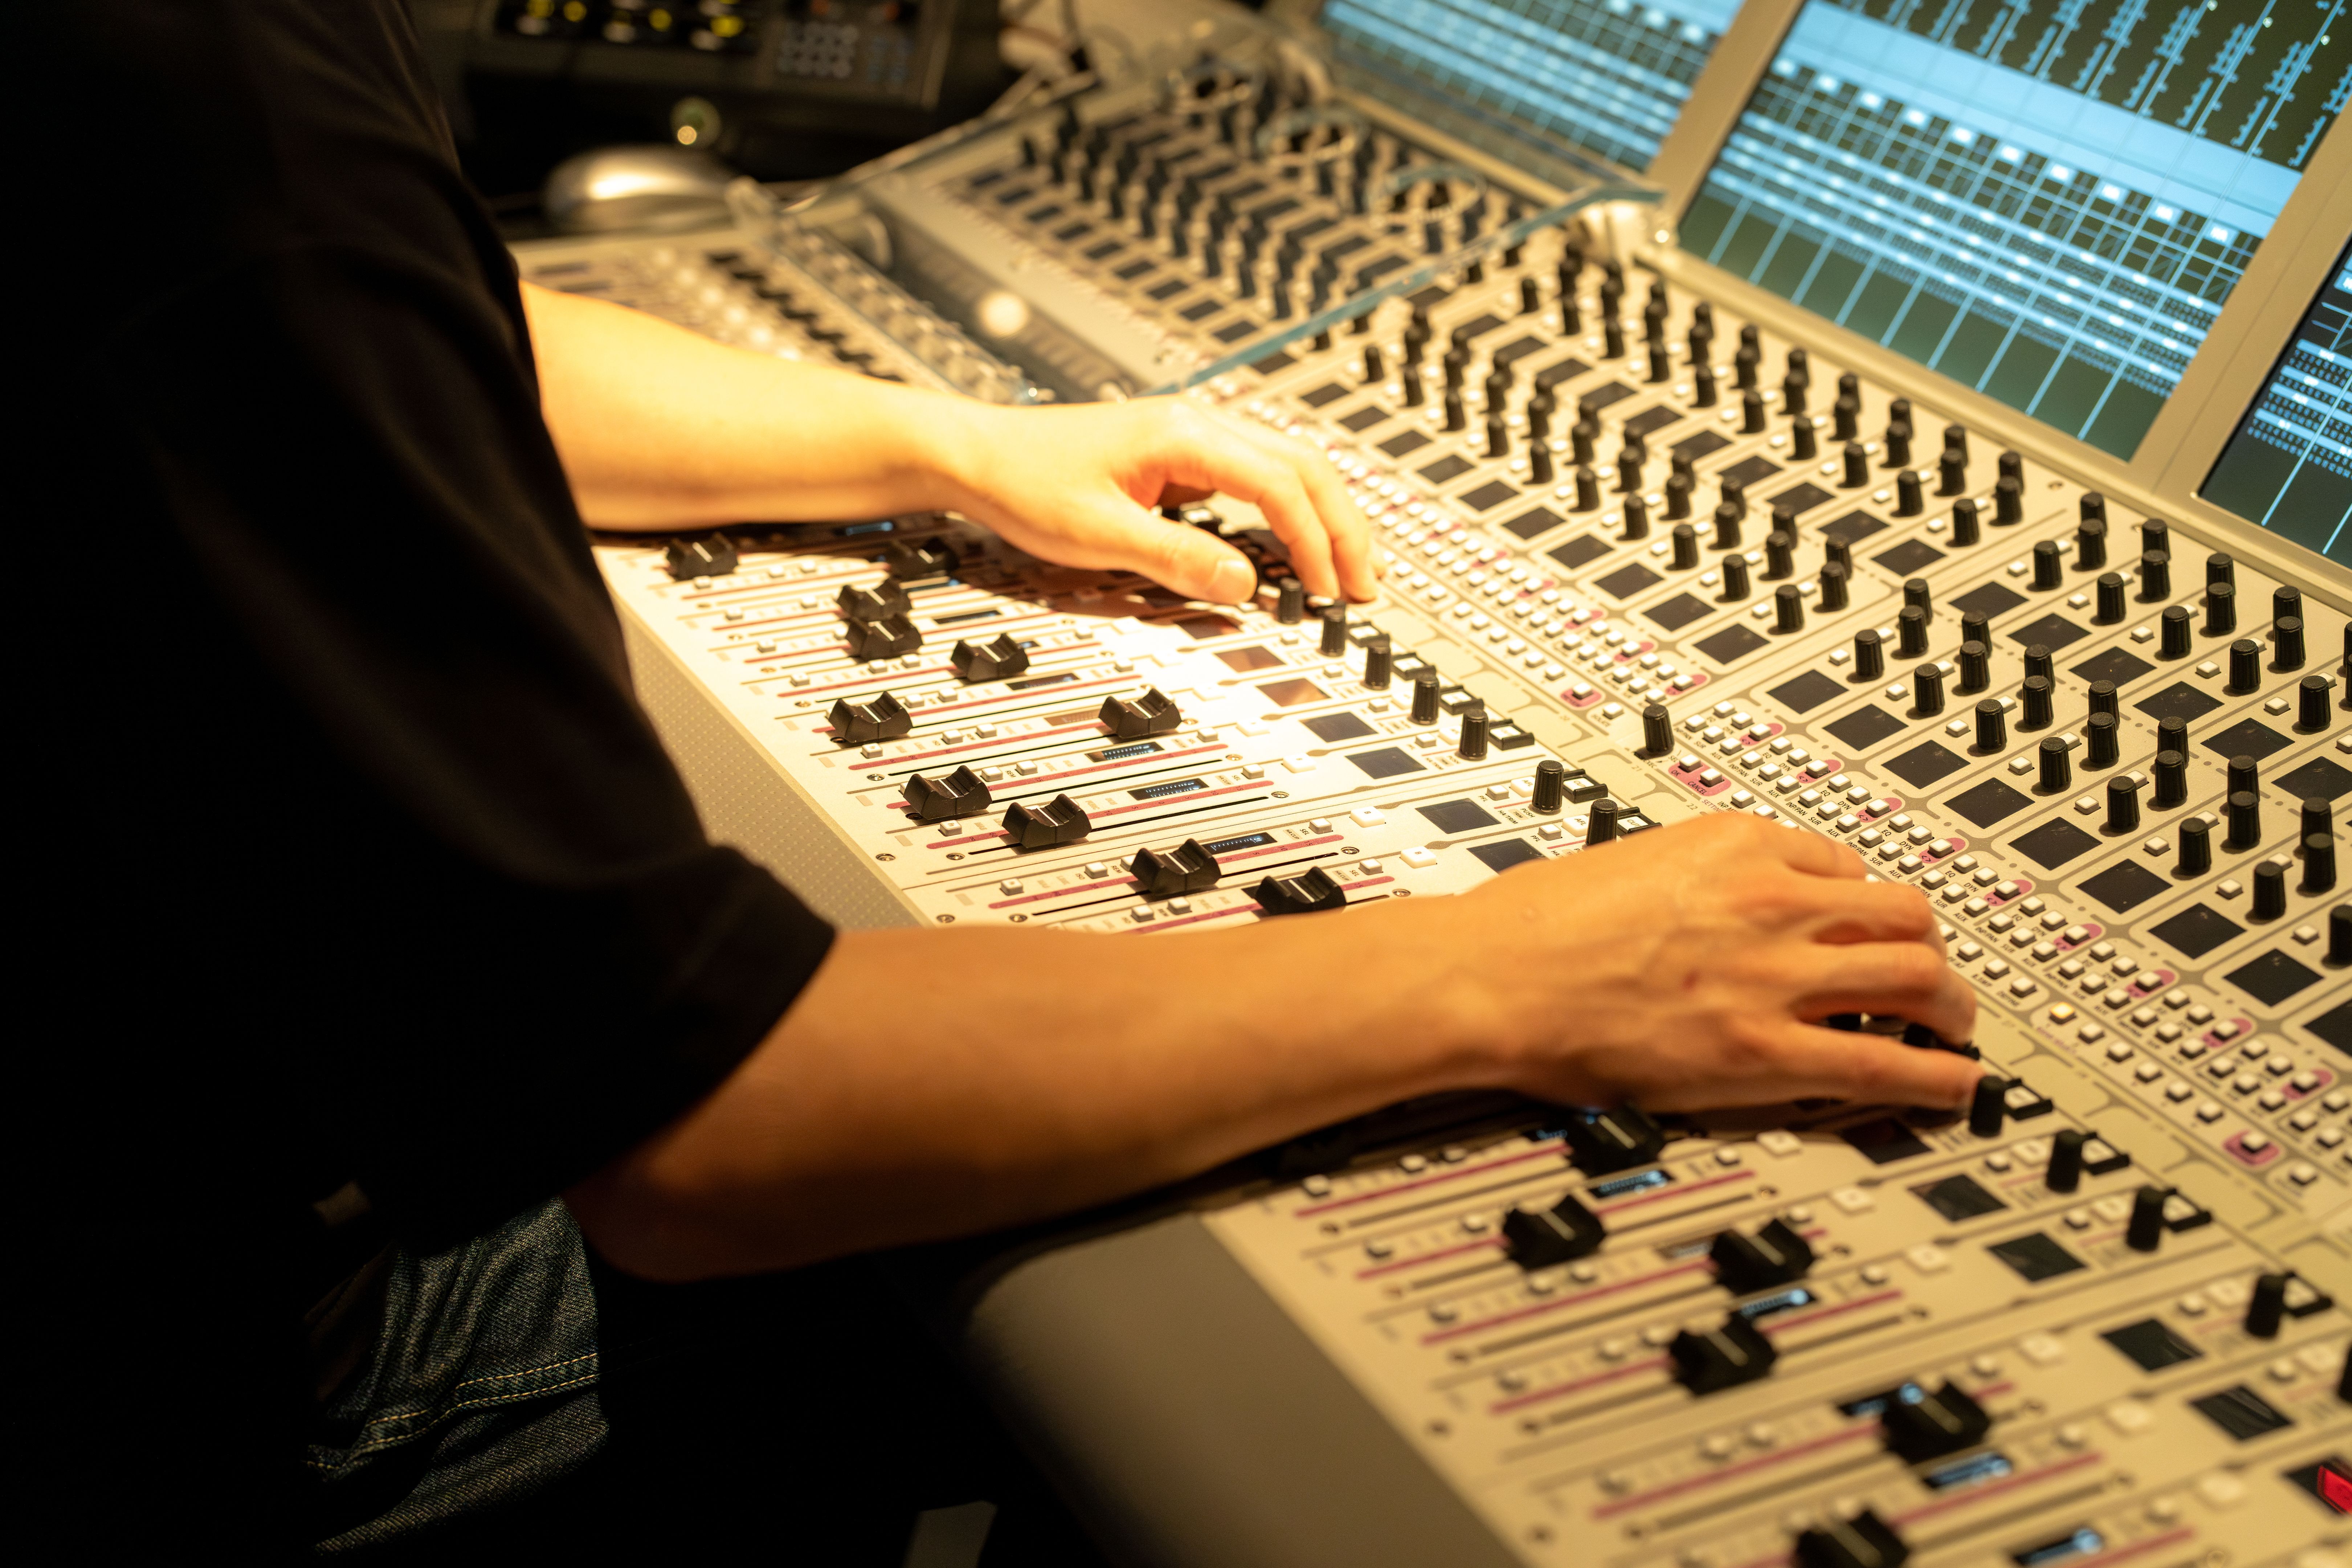
Before diving into specific techniques, ensure that you have the right software for your needs. Popular options include Audacity, GarageBand, and Adobe Audition. These programs offer various features that cater to both beginners and advanced users.

Understanding Audio Formats
Audio files come in different formats, each with its own strengths and weaknesses. The most common types you'll encounter are WAV, MP3, and AAC. WAV files are uncompressed and offer high quality, making them ideal for professional editing. However, they take up more space than compressed formats like MP3 or AAC, which are more suitable for casual listening.
When editing audio, it's crucial to start with the highest quality file format available. This ensures that any modifications maintain the best possible sound fidelity. Once editing is complete, exporting to a compressed format can help save storage space without significantly compromising the audio quality.
Basic Editing Techniques
Once you have your software and audio file ready, it's time to delve into basic editing techniques. One of the first tasks is to trim any unwanted sections from the beginning or end of your audio. This process helps in refining your content by removing unnecessary noise or silence.
Another crucial technique is normalization. This involves adjusting the audio levels to ensure consistency across your recording. By normalizing your audio, you make sure that the sound is neither too loud nor too soft, providing a more pleasant listening experience.
Enhancing Audio Quality
To improve audio clarity, consider using equalization (EQ) to adjust the balance of different frequency components. EQ allows you to enhance bass, midrange, or treble frequencies depending on your needs. For instance, boosting the treble can make vocals clearer, while enhancing bass might improve the richness of music tracks.
Another technique for enhancing audio quality is noise reduction. Background noise can be distracting and unprofessional, especially in podcasts or voice recordings. Most editing software includes noise reduction tools that help minimize unwanted sounds, improving overall audio clarity.
Mastering Effects and Transitions
Adding effects and transitions can elevate your audio project to a new level. Popular effects include reverb, echo, and distortion, which can add depth and atmosphere to your recordings. When using effects, it's important to apply them judiciously to avoid overwhelming the listener.
Transitions such as fades or crossfades can also enhance your audio work by smoothing out abrupt changes between segments. These transitions help create a more seamless listening experience and are particularly useful in music tracks or storytelling podcasts.
Finalizing Your Audio Project
As you wrap up your editing session, remember to listen through your entire project one last time. Pay attention to any inconsistencies or areas that might require further refinement. This final check ensures that your audio is polished and ready for distribution.
When exporting your finished project, consider the platform where it will be shared. For streaming services, compressed formats like MP3 or AAC are typically preferred due to their smaller file sizes. However, if you're planning a professional release, maintaining a high-quality WAV file might be beneficial.

By mastering these essential techniques in DIY audio editing, you'll be well-equipped to create high-quality audio content that resonates with your audience. With practice and exploration of more advanced features, you'll continue to improve and refine your skills over time.