
DIY Audio Production: Tips for Beginners
Getting Started with DIY Audio Production
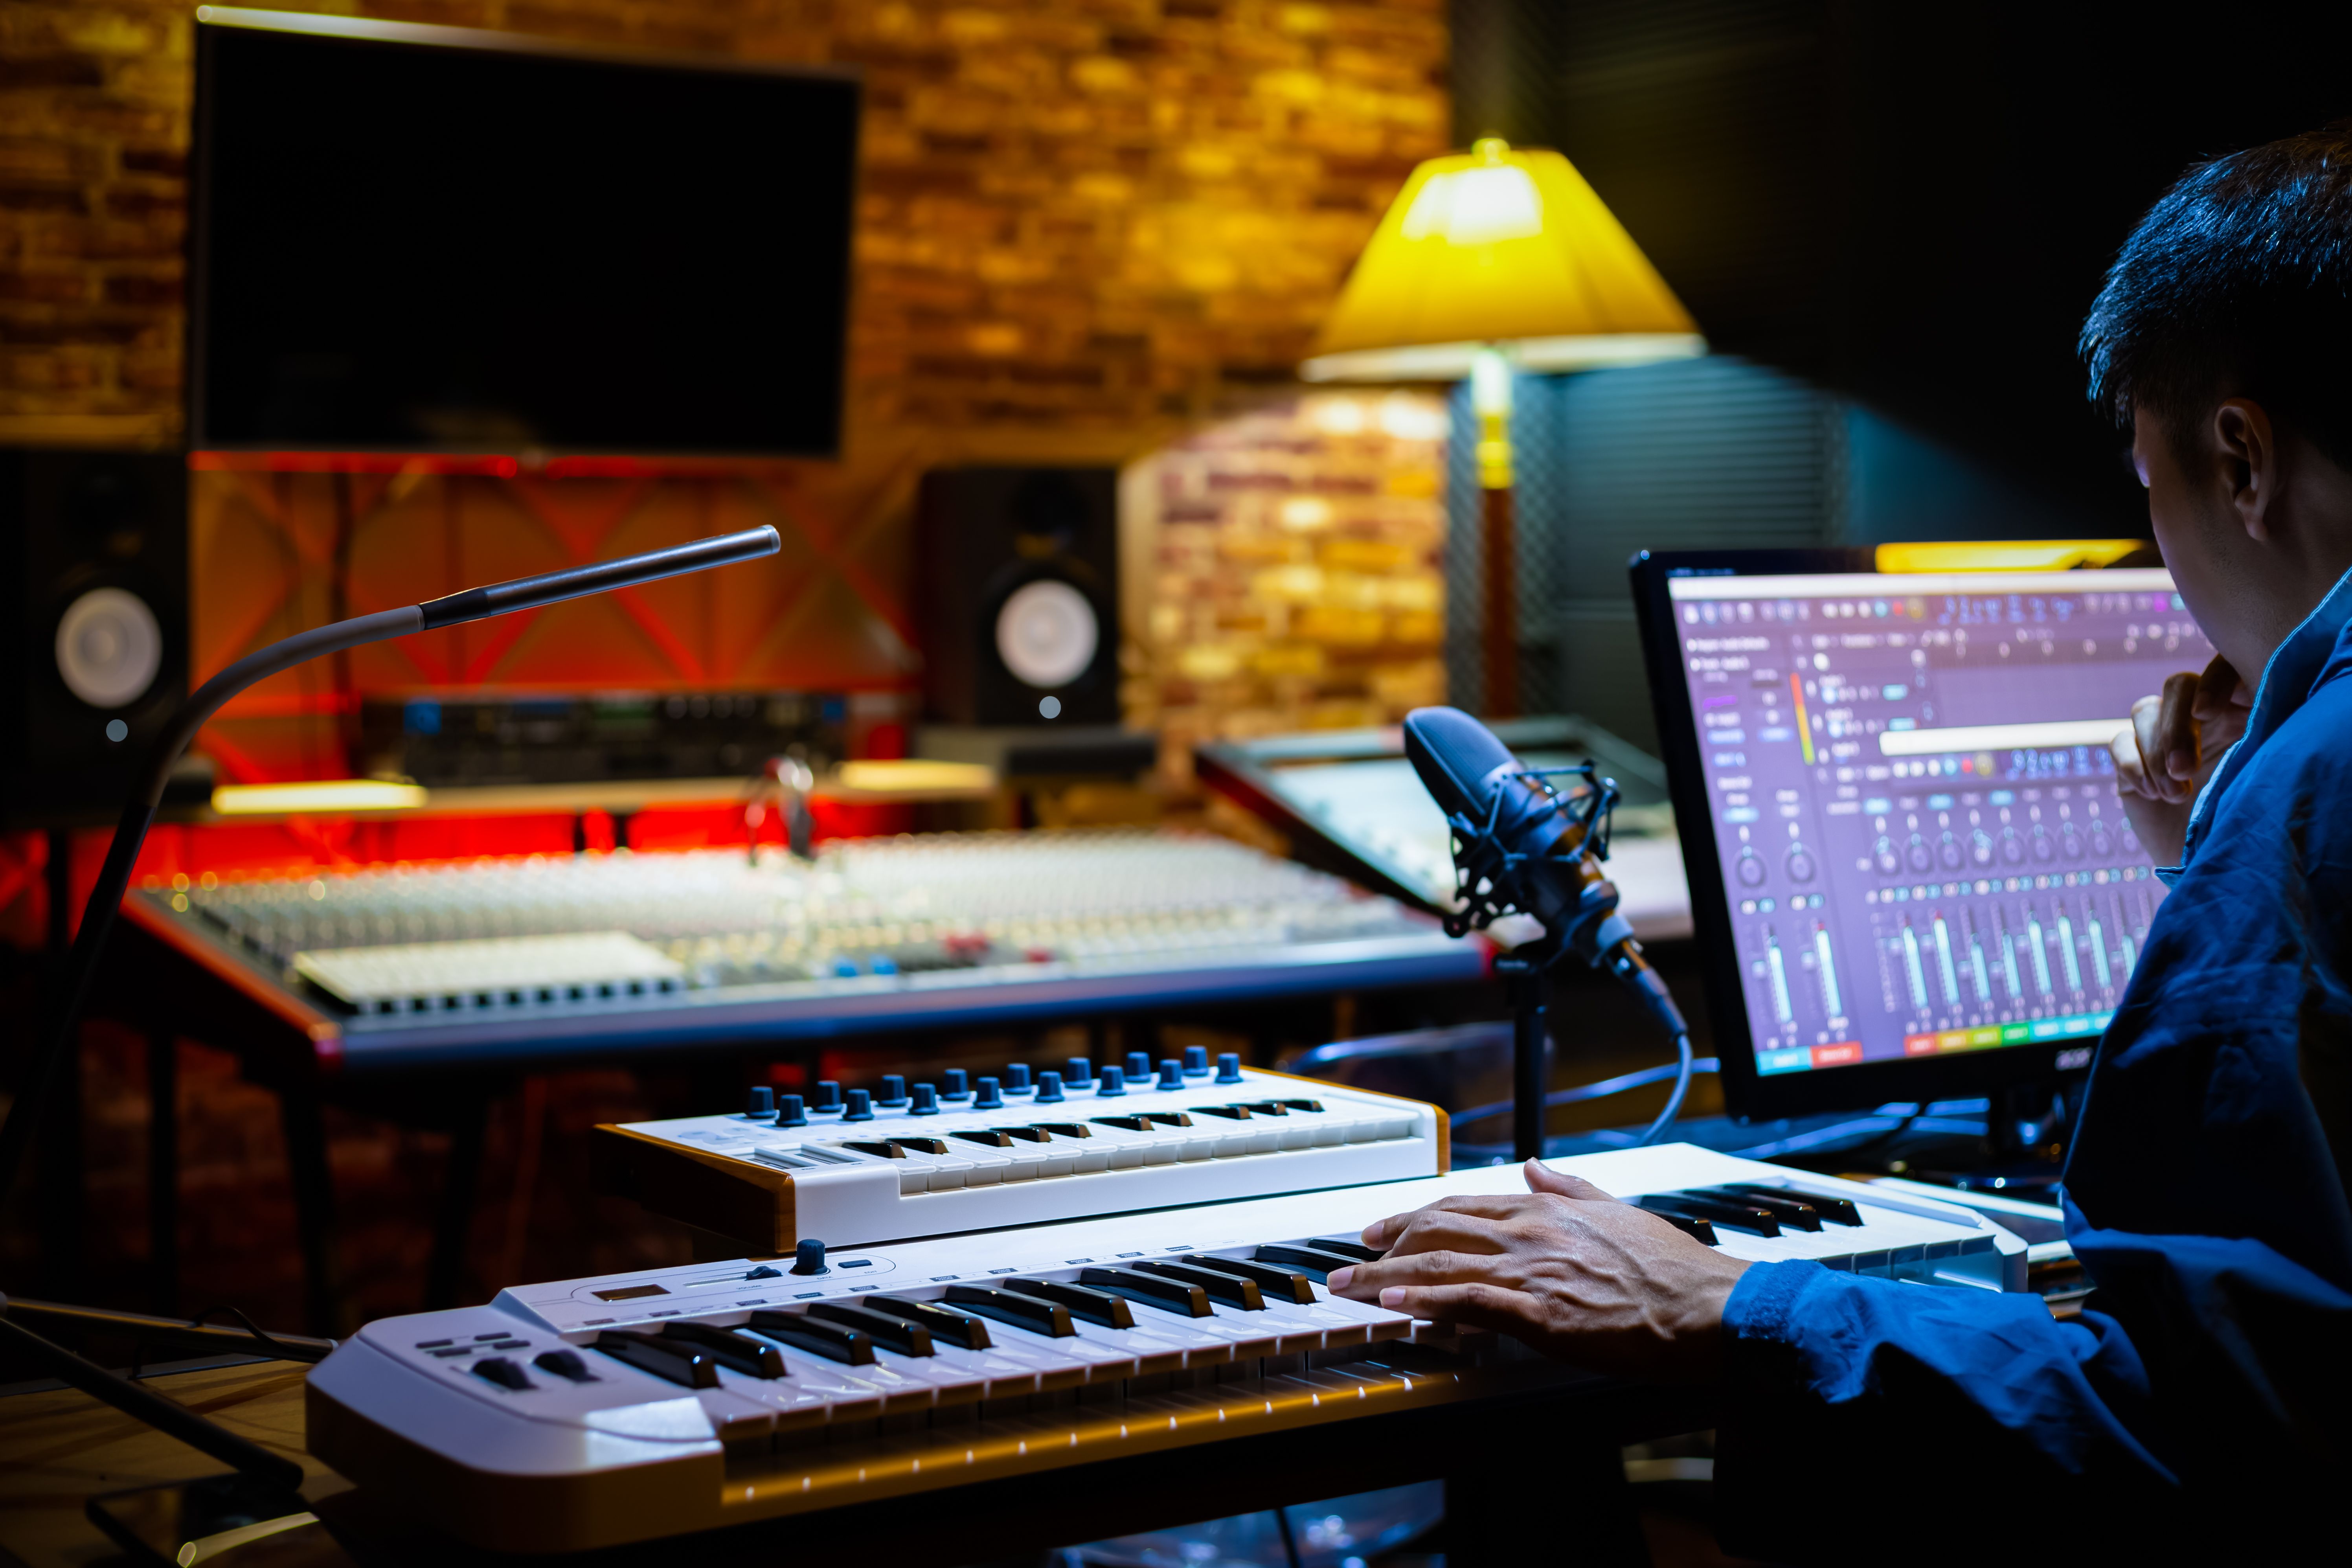
Diving into the world of audio production can be both exciting and overwhelming for beginners. With a myriad of tools and techniques available, knowing where to start can make all the difference. This guide will walk you through some fundamental tips to kickstart your journey in audio production from the comfort of your home.
First, it's essential to understand the basics of sound and how it interacts with different environments. This foundational knowledge will help you make informed decisions as you begin to record and produce your own audio tracks. Familiarize yourself with terms like frequency, amplitude, and waveforms, as they are crucial in shaping your sound.
Essential Equipment for Beginners
Setting up a home studio doesn't have to break the bank. Start with basic equipment that can grow with you as your skills develop. Here’s a list of essential gear:
- Microphone: Invest in a decent quality microphone. Condenser mics are versatile and great for vocals and instruments.
- Audio Interface: This device connects your microphone and instruments to your computer, ensuring high-quality sound input.
- Headphones: A good pair of studio headphones will help you monitor and edit your audio accurately.
- Digital Audio Workstation (DAW): Choose a DAW that suits your needs and budget. Popular choices include Ableton Live, FL Studio, and GarageBand.
As you gather these basic tools, remember that quality is more important than quantity. Start with reliable equipment that fits your current needs and upgrade as you gain experience.
Creating the Perfect Recording Environment
The environment in which you record can significantly affect the quality of your audio production. Aim to create a space that minimizes external noise and echoes. Here are a few tips:
- Soundproofing: Use foam panels or thick curtains to reduce sound reflections and external noise.
- Placement: Position your microphone away from reflective surfaces to avoid unwanted echoes.
- Room Setup: Choose a room with soft furnishings like carpets and sofas to naturally absorb sound.

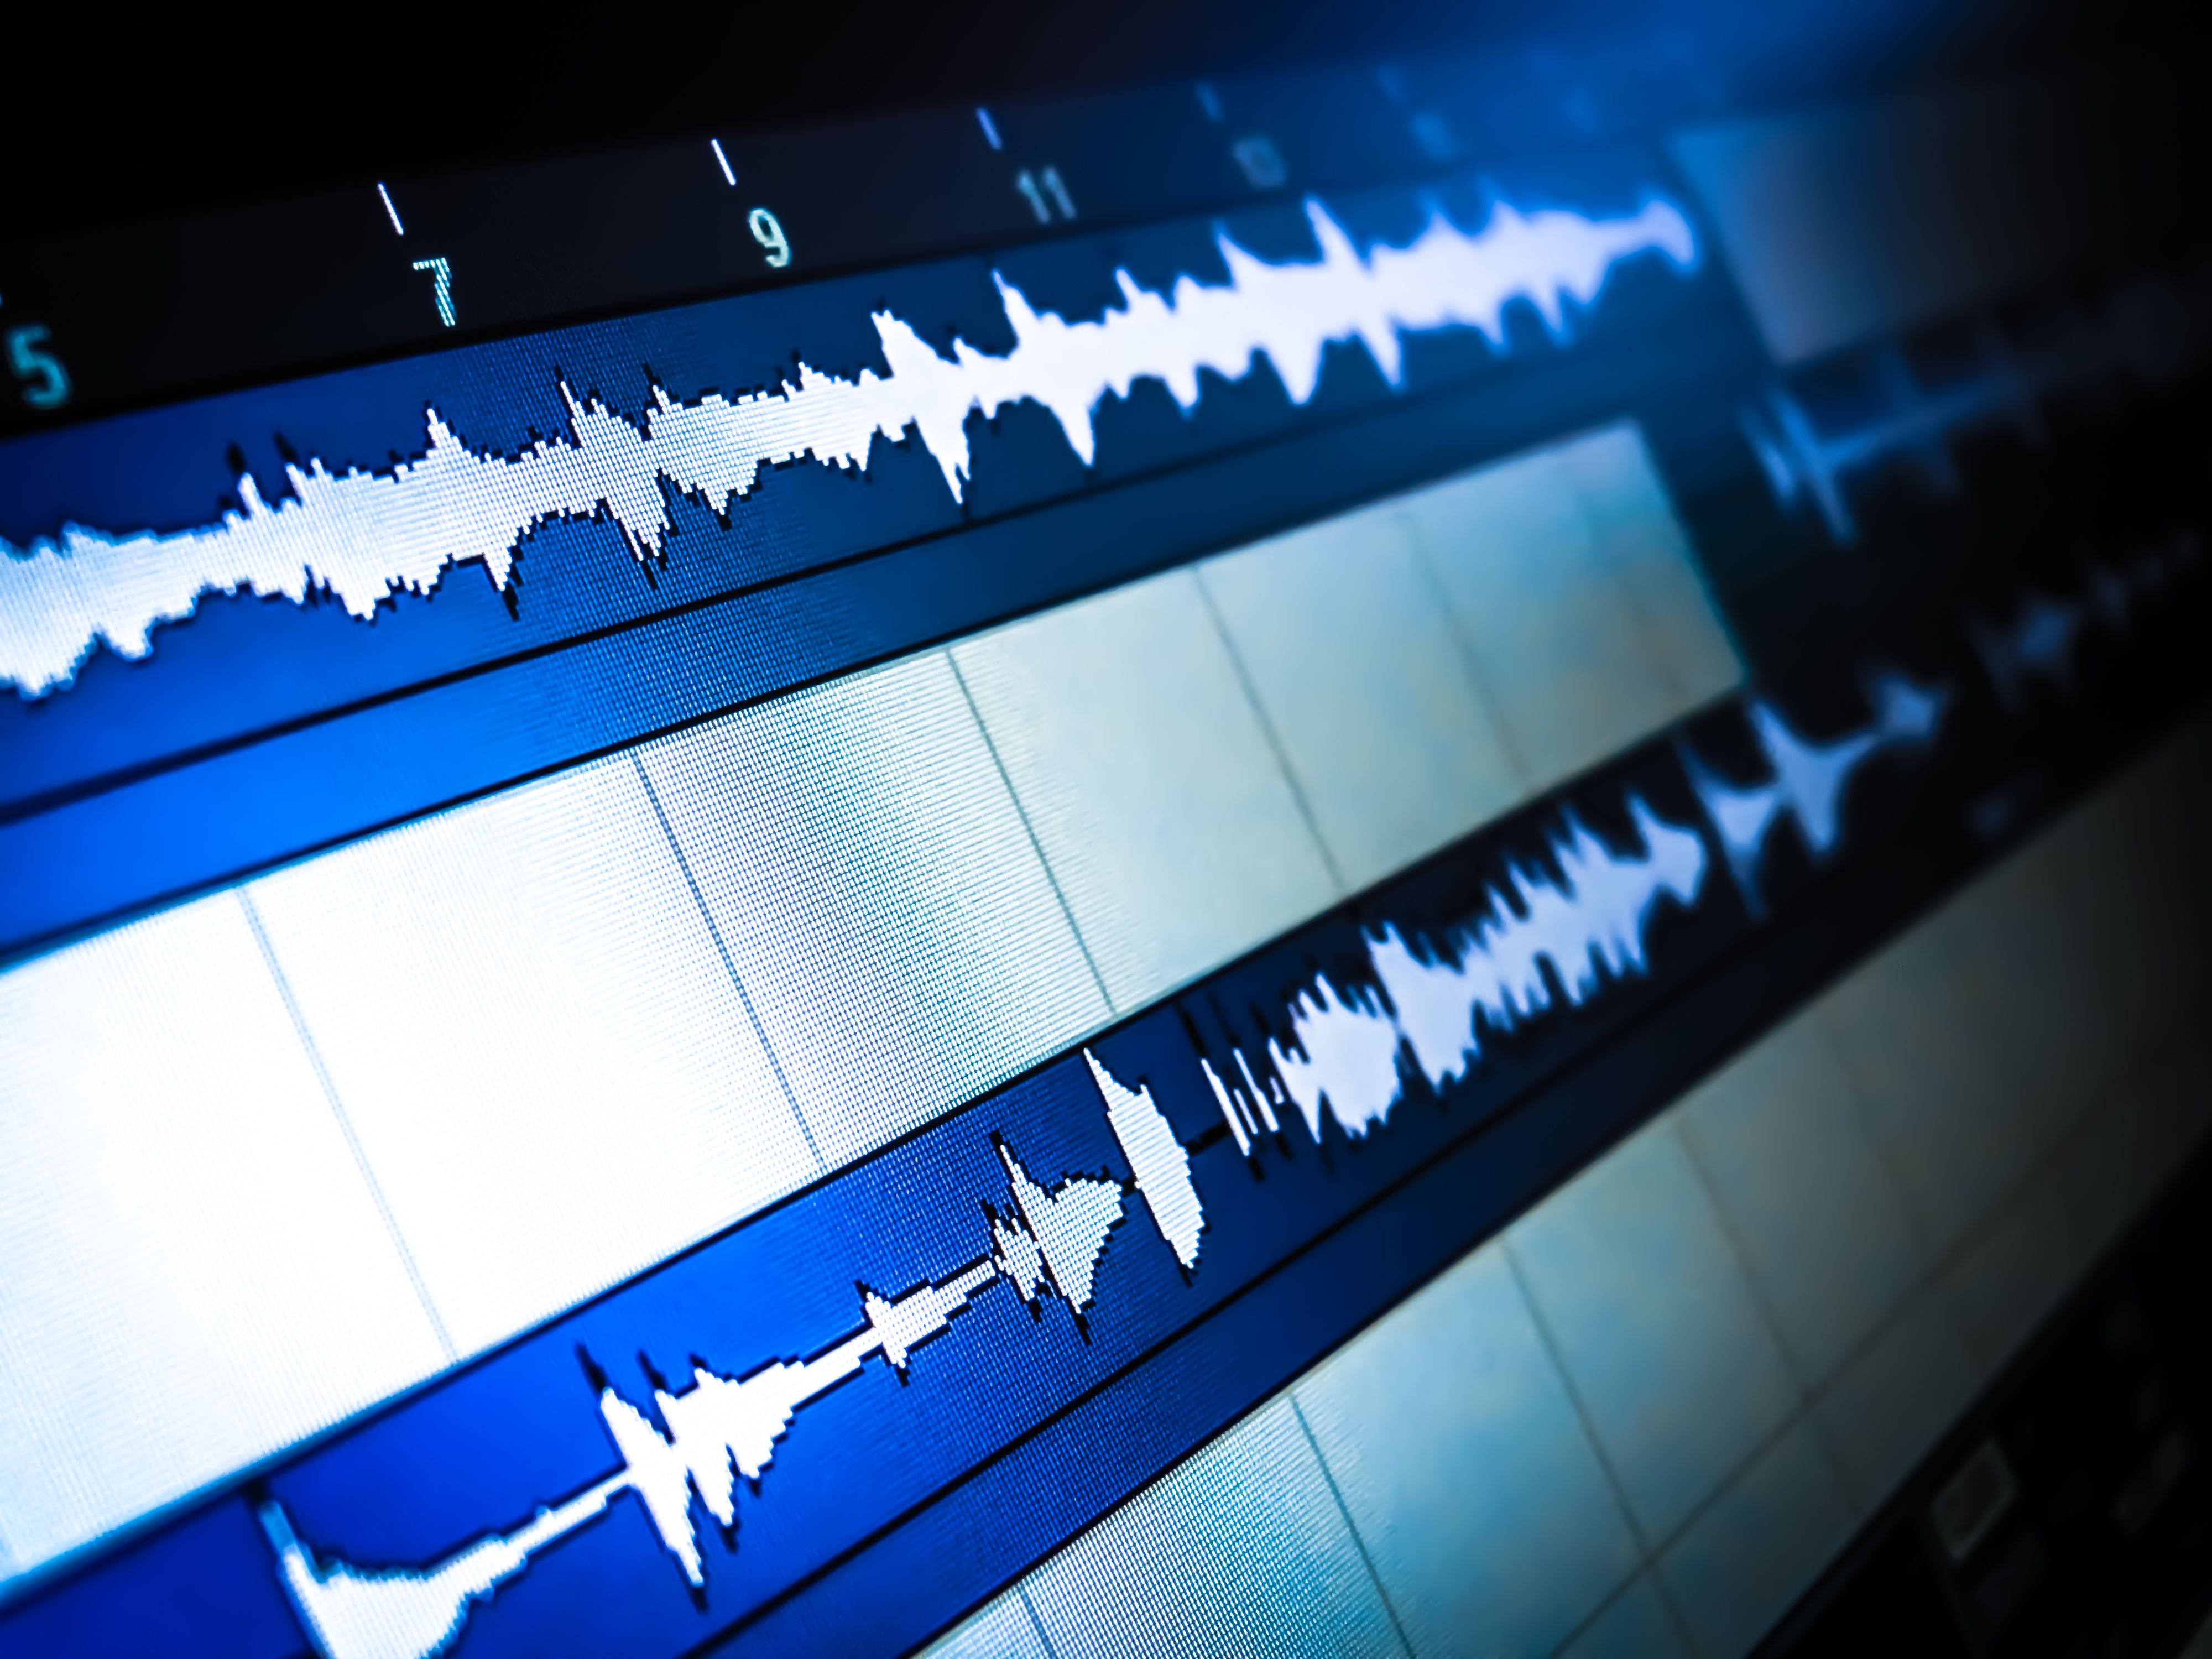
Mastering Audio Editing Techniques
Once you've captured your sound, the next step is editing. Learning to use your chosen DAW effectively will greatly enhance the quality of your projects. Focus on understanding the following techniques:
Equalization (EQ): This technique allows you to adjust the balance of different frequency components in an audio signal, helping you shape the overall tone of your track. Learn to cut unwanted frequencies and boost those that enhance your sound.
The Art of Mixing and Mastering
The final stages of audio production involve mixing and mastering. Mixing is the process of combining multiple audio tracks into one cohesive piece, while mastering ensures that your final product sounds polished across all listening platforms. Here are some key points to consider:
- Panning: Use panning to position different elements in the stereo field, creating a sense of space in your mix.
- Compression: Apply compression to control the dynamics of your track, ensuring consistent volume levels throughout.
- Final Touches: When mastering, focus on achieving a balanced sound that translates well on various devices, from headphones to car speakers.
As you practice these techniques, remember that mastering audio production is a gradual process. Be patient and persistent, and over time, you'll develop a keen ear for what works best in your projects. Happy producing!