DIY Home Recording: Essential Tips for Quality Sound
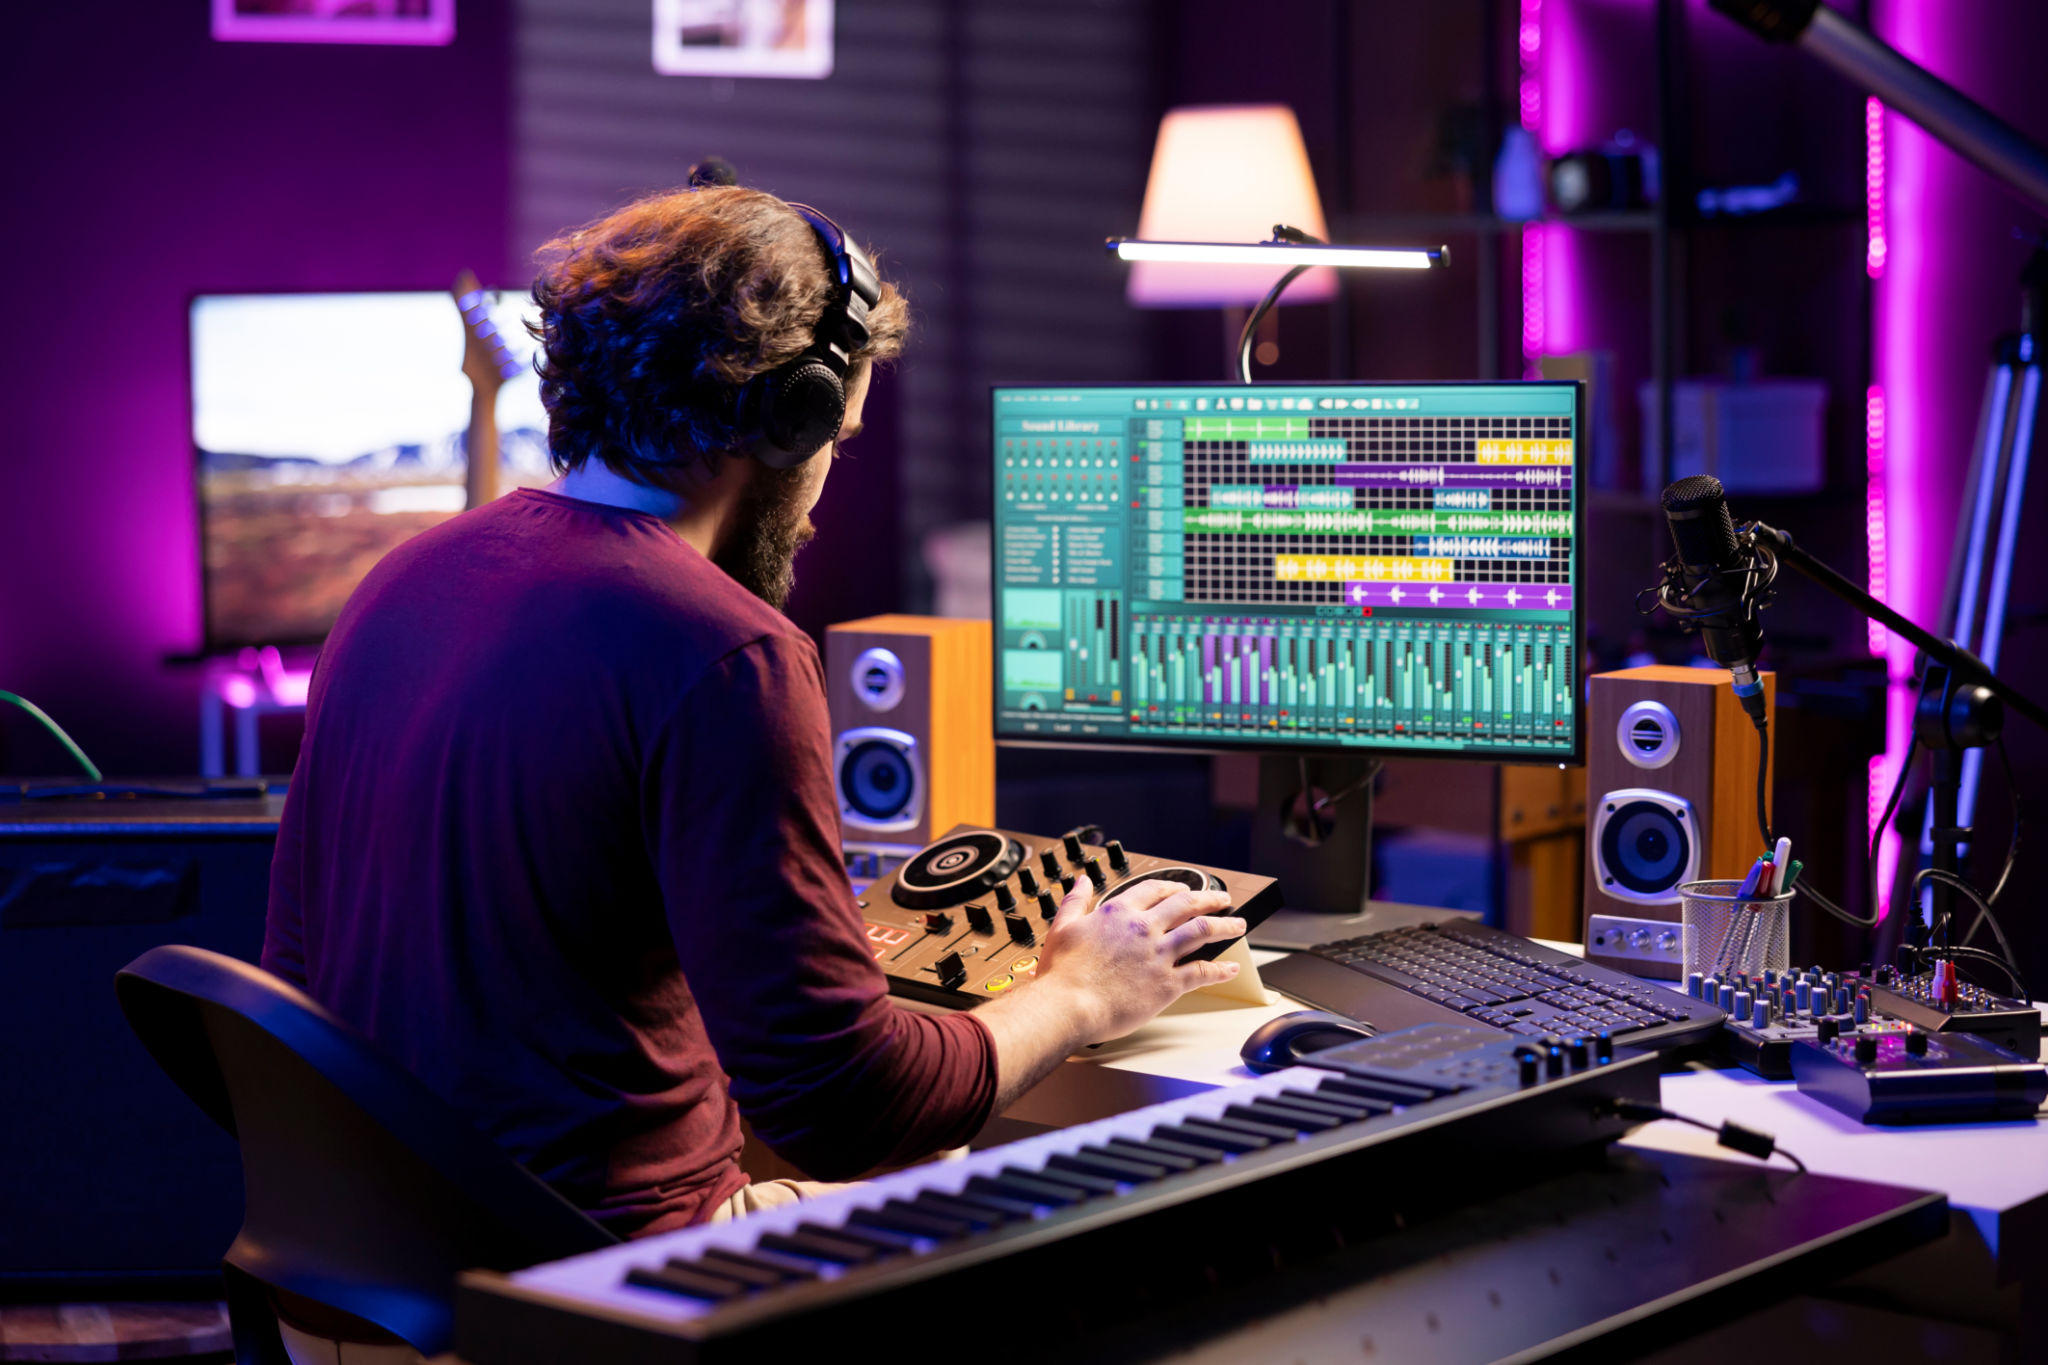
Setting Up Your Home Recording Studio
Creating a home recording studio is a dream for many music enthusiasts and aspiring artists. It's a space where creativity flows and ideas come to life. To start, you'll need to select an appropriate room that minimizes outside noise and offers good acoustics. A smaller room with carpet and curtains is ideal as these materials help absorb sound, reducing echo and reverb.

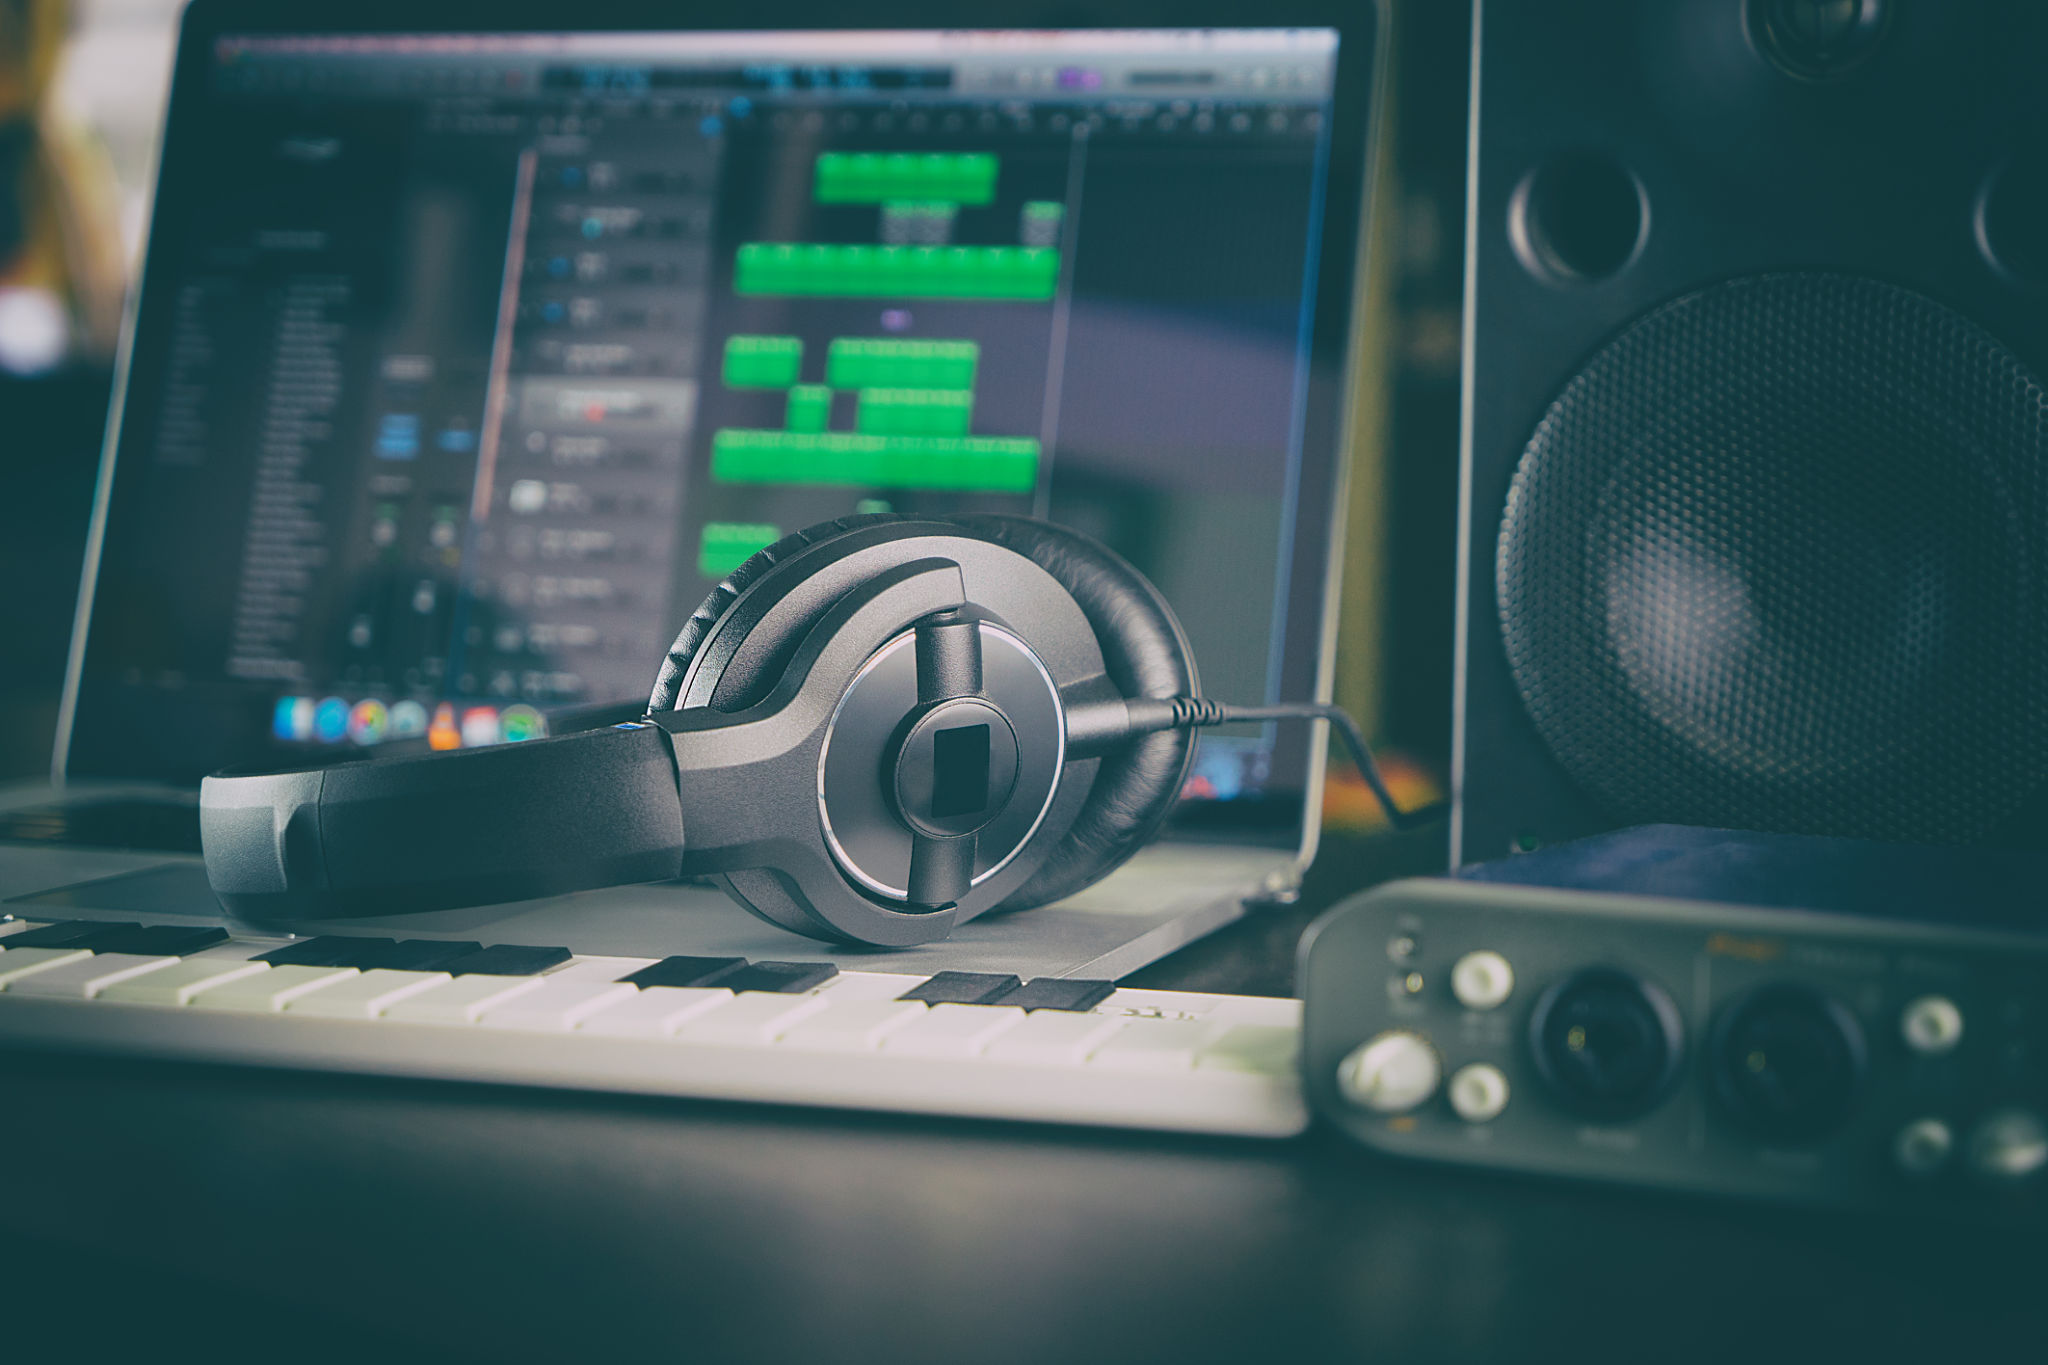
Next, invest in essential equipment. At the very least, you'll need a computer with audio editing software, an audio interface, a microphone, and headphones. While it's tempting to go for the most expensive gear, remember that quality doesn't always mean costly. Do thorough research to find equipment that fits your budget yet meets your quality expectations.
Optimizing Sound Quality
Once your studio is set up, focus on optimizing the sound quality. Start by treating your room acoustically. Adding foam panels or bass traps to walls and corners can significantly reduce unwanted noise. Consider using a reflection filter to enhance vocal recordings by minimizing room reflections.
Positioning your microphone correctly is crucial. A common mistake is placing it too close to the sound source, which can result in distortion. Experiment with different placements, keeping it at an appropriate distance to capture clear and balanced sound.

Mastering Recording Techniques
When it comes to recording, honing your techniques is key to achieving professional results. Always ensure your audio levels are set correctly before hitting the record button. Levels that are too high may cause clipping, while those too low might lead to increased background noise when amplified.
Using a pop filter can help eliminate harsh plosive sounds when recording vocals. This simple tool can make a significant difference in the clarity of your recordings. Additionally, consider recording multiple takes. This gives you more options when editing and mixing your tracks.

Editing and Mixing Your Tracks
After recording, the next step is editing and mixing your tracks. Begin by organizing your recordings into layers or tracks within your audio software. This will make it easier to manipulate individual elements without affecting the entire piece.
Pay attention to equalization (EQ) during mixing. Adjusting frequencies can help each instrument or vocal stand out without clashing with others. A well-balanced mix ensures that every element is heard clearly, contributing to a polished final product.
Finalizing Your Masterpiece
The final stage of home recording is mastering your track. This process involves adjusting the overall sound to ensure consistency across all playback systems. It's essential for enhancing volume and clarity, making your music sound more professional.
If you're new to mastering, consider using online mastering services or plugins that offer preset adjustments based on your genre. These tools can simplify the process while still delivering quality results.

With these essential tips, you're well on your way to creating high-quality recordings in the comfort of your own home. Remember, practice makes perfect, so keep experimenting with different techniques and settings until you find what works best for you.
