Understanding Audio Mixing: A Step-by-Step Tutorial
Introduction to Audio Mixing
Audio mixing is an essential process in producing high-quality sound for music, film, and other audio projects. It involves combining multiple audio tracks into a cohesive final product. The goal of mixing is to ensure that each element of a recording is balanced and enhances the overall listening experience. Understanding the basics of audio mixing can help both beginners and seasoned producers improve their projects.
In this step-by-step tutorial, we'll guide you through the key components of audio mixing, including setting levels, equalization, compression, and effects. Whether you're mixing a full band or a simple podcast, these principles will help you achieve a polished and professional sound.

Step 1: Setting Levels
The first step in audio mixing is setting the levels of each track. This involves adjusting the volume of each instrument or vocal track so that they blend well together. The goal is to create a balanced mix where no single element overpowers the others.
Start by setting a rough balance with the faders on your mixing console or digital audio workstation (DAW). Pay attention to how each track sits in the mix and adjust accordingly. Remember to leave some headroom to avoid clipping and distortion.
Using Panning for Depth
Panning is another crucial aspect of level setting. It allows you to place sounds in the stereo field, creating a sense of space and depth. For instance, you might pan a guitar slightly to the left and a keyboard to the right. This separation can make your mix sound wider and more dynamic.

Step 2: Equalization (EQ)
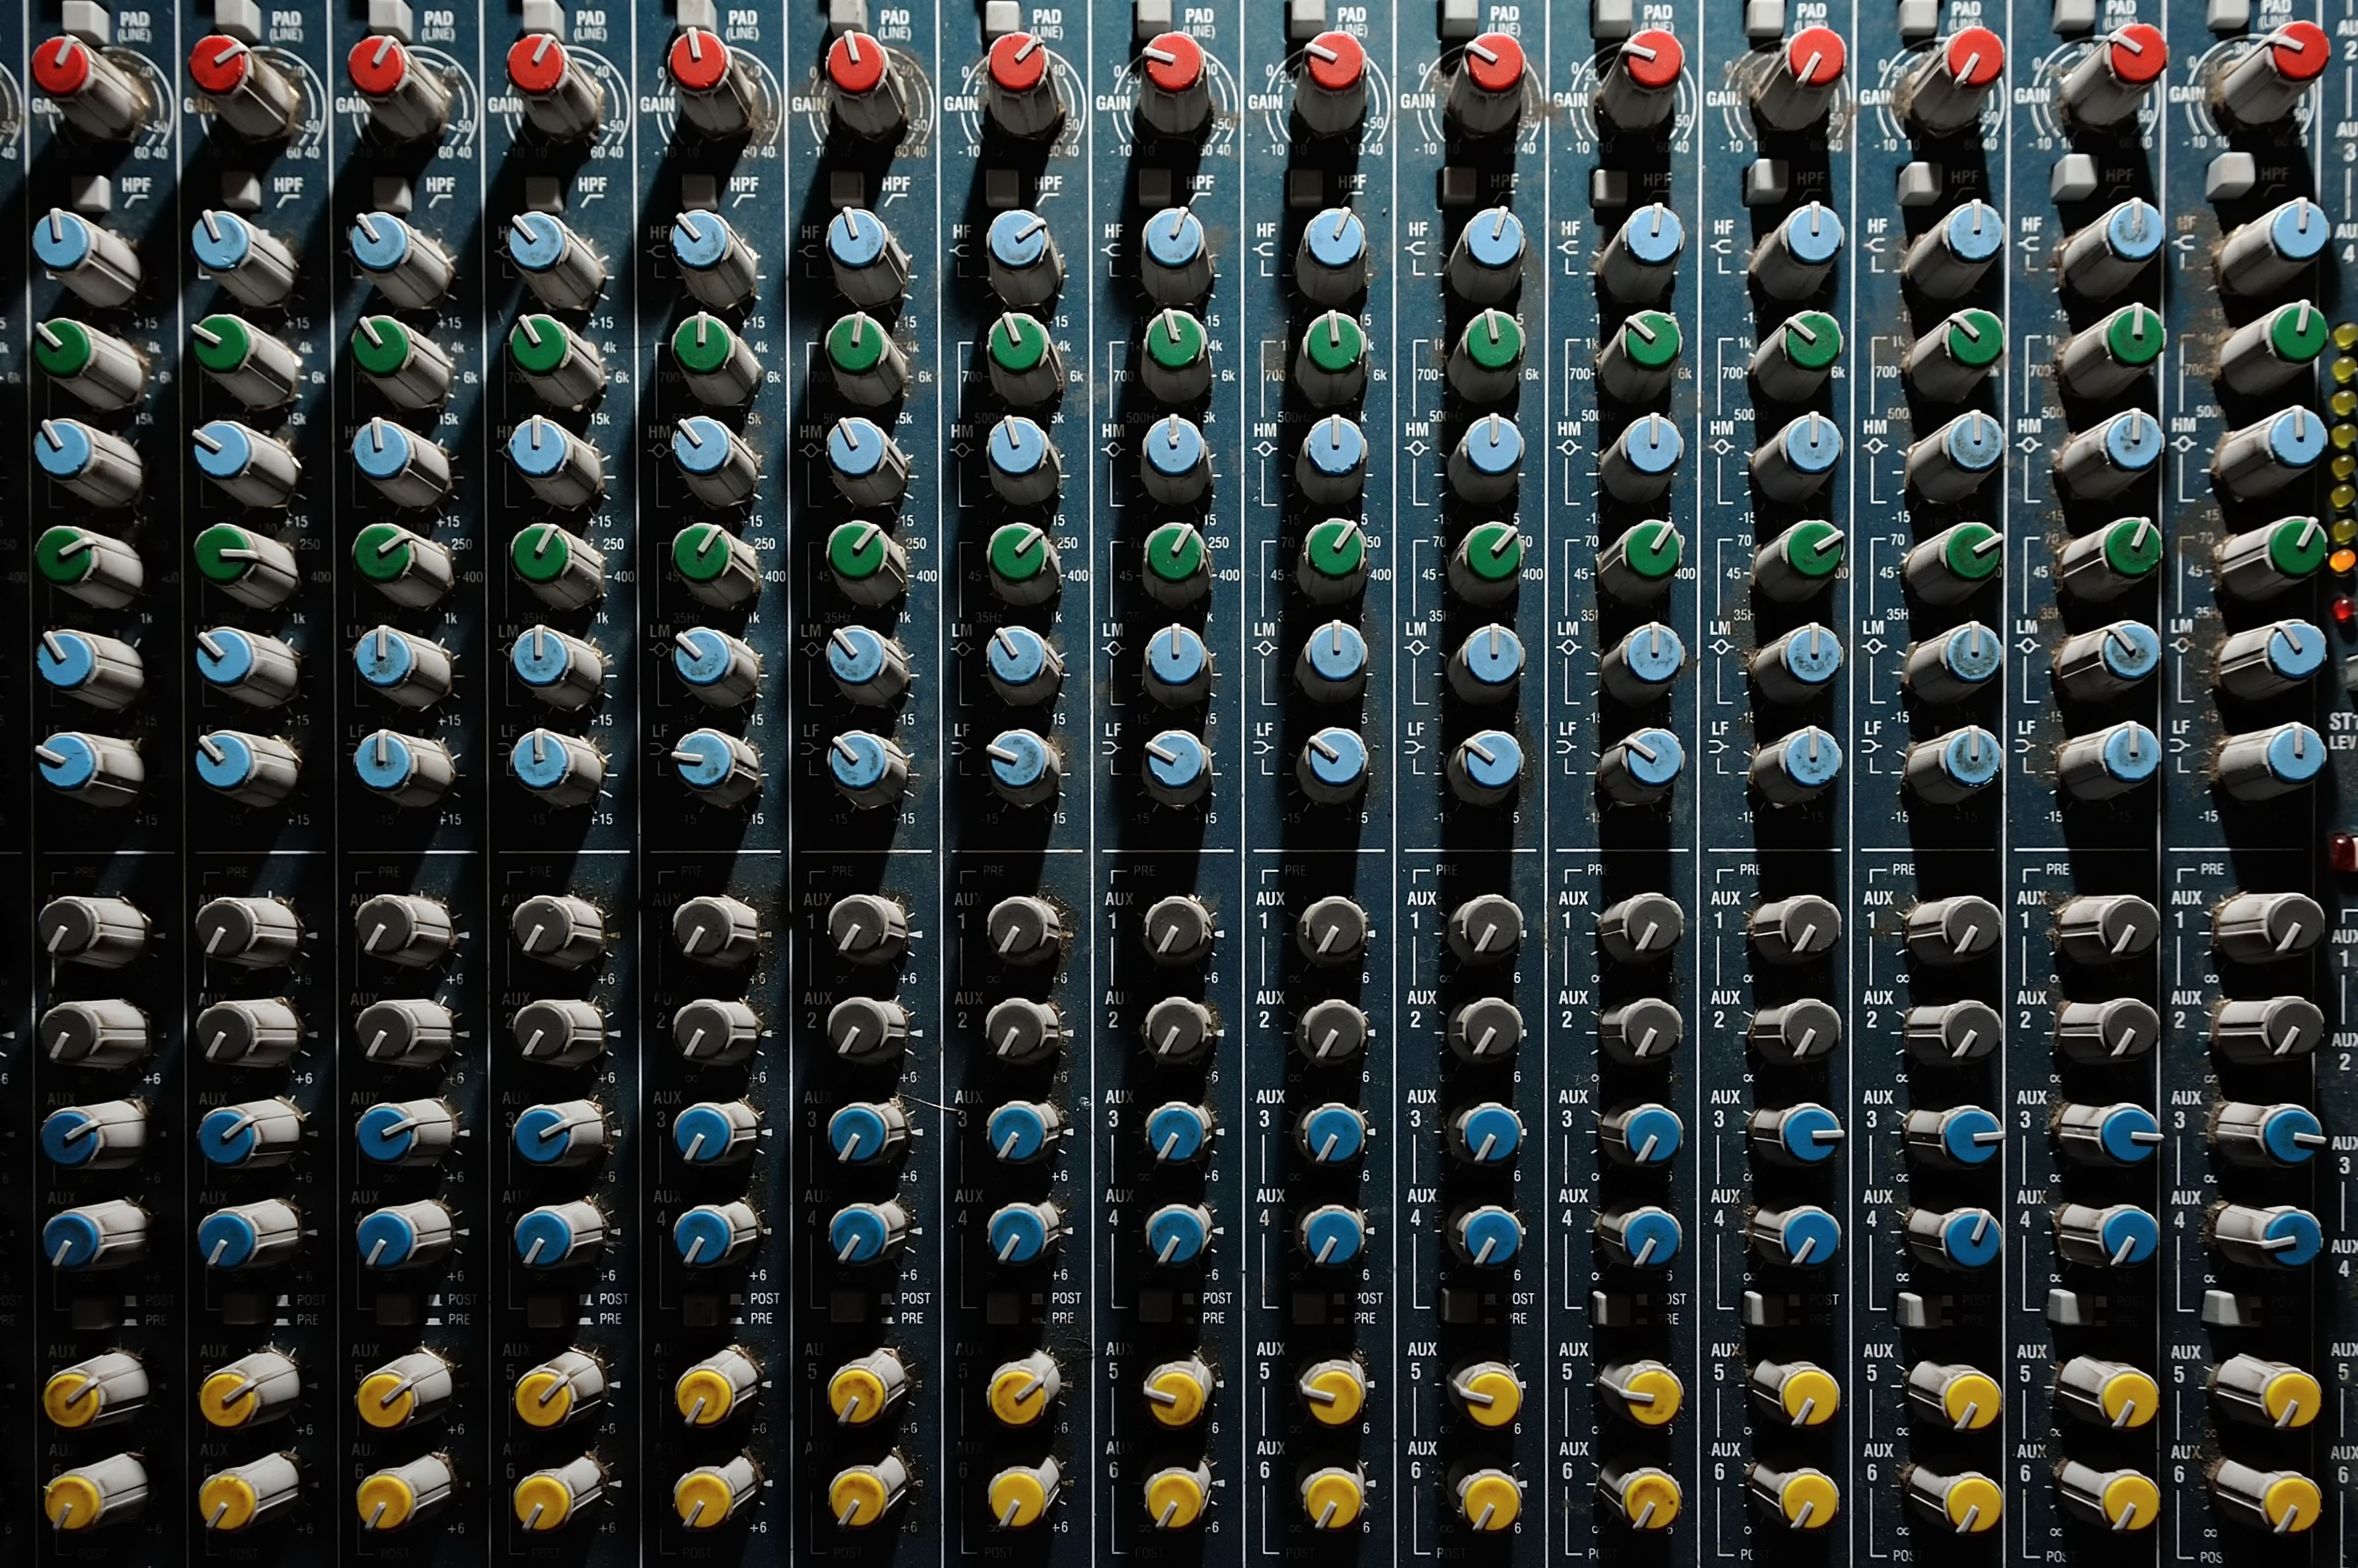
Equalization, or EQ, is used to adjust the frequency balance of your tracks. It can help enhance or reduce certain frequencies to make each element sit better in the mix. For example, you might boost the high frequencies on a vocal track for clarity or cut the low frequencies on a guitar track to reduce muddiness.
When using EQ, it's important to make subtle adjustments. Over-EQing can result in an unnatural sound. Listen carefully and make changes that improve the overall mix without making any track sound out of place.
Common EQ Techniques
Some common EQ techniques include using a high-pass filter to remove low-end rumble, employing a notch filter to cut problematic frequencies, and applying a shelving filter to boost or cut high or low frequencies. Experiment with these tools to find what works best for your mix.

Step 3: Compression
Compression is a powerful tool used to control the dynamic range of your audio tracks. It helps even out the volume levels by reducing the peaks and raising the quieter parts. This can make vocals sit better in the mix and give drums more punch.
When applying compression, start with mild settings and adjust as necessary. Pay attention to the attack and release times, as these will affect how the compressor responds to the audio signal.
Understanding Compressor Controls
The main controls on a compressor include threshold, ratio, attack, release, and makeup gain. The threshold determines when compression kicks in, while the ratio dictates how much compression is applied. Take time to understand these controls to use compression effectively.

Step 4: Adding Effects
Effects can add character and depth to your mix. Common effects include reverb, delay, chorus, and distortion. Use reverb to create a sense of space, delay for echo effects, chorus for thickness, and distortion for grit and texture.
It's important not to overuse effects as they can clutter your mix. Apply them tastefully and ensure they serve the overall vision of your project.
Layering Effects for Creativity
One creative approach is layering multiple effects on a single track. For instance, you might apply a subtle reverb followed by a short delay on a vocal track to create an ethereal soundscape. Experimentation is key to discovering unique sound combinations.
